Toolbar Options

File Drop-Down Menu

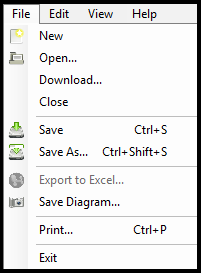
New – Create a new model. When the "new" option is selected from the drop-down menu the following screen will appear:

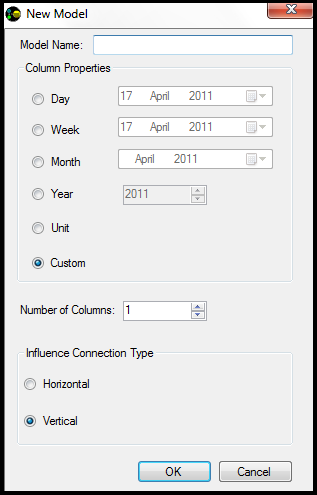
Open... – Open a stored model.
Download... – Download a model from a URL source.
Close – Close the current open model.
Save – Save the current open model.
Save As... – Allows the user to assign a name and location for a new model to be saved, or to assign a different file name to the current model. Also allows the user to save an open model in a different location of their choice.
Export to Excel... – The model properties (i.e. the Solution Views' spreadsheet) can be exported to excel for further analysis and/or the ability to consequently save the exported model as an excel file.
Save Diagram... – Allows the user to save a Bitmap (*.bmp) ‘picture’ file of the decision tree. This function can come in handy for capturing the "screenshot" of the decision tree. The screenshot can be added to documents, presentations, or emailed to others.
Print... – Allows the user to print the file. This function can also be performed by pressing Ctrl+P.
Exit... – Exits the program.

Edit Drop-Down Menu

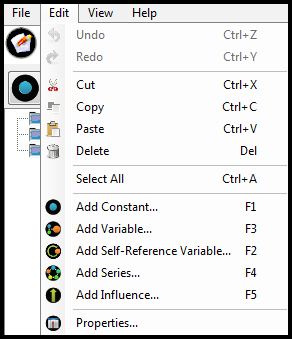
Undo – Allows the user to "undo" the last action(s). This function can also be performed by pressing Ctrl+Z.
Redo – Allows the user to “redo” an unwanted "Undo" action and return to the previous state(s)in the model building process when the option is highlighted for availability. This function can also be performed by pressing Ctrl+Y.
Cut – Allows the user to cut a piece of the model for permanent removal or pasting to another part of the decision tree. This function can also be performed by pressing Ctrl+X.
Copy – Allows the user to Copy a portion of the model to be pasted to another part of the decision tree. This function can also be performed by pressing Ctrl+C.
Paste – Allows the user to 'Paste' a previously 'Copied' or 'Cut' portion of the model to another part of the decision tree. The Paste function will paste the most recent 'Cut' or 'Copied' object. This function can also be performed by pressing Ctrl+V.
Delete – Delete's a selected object. This function can also be performed by pressing ‘Del’ on the keyboard.
Select All – Allows the user to select the entire model and all of the objects contained therein. This function can also be performed by pressing Ctrl+A.

The bottom portion of the drop-down includes the modelling objects' selections. The user can also add objects to the drawing pane through the Edit drop-down, or by pressing the respective "F" keys listed next to each object above. These selections will perform the exact same way when selected here as they would by clicking on them on the Object Toolbar. The "Properties" selection will show the properties of the Model.
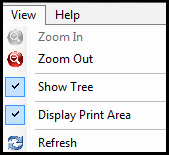
View Drop-Down Menu

Zoom In – Allows the user to Zoom In on the drawing pane of the model, the same way as the Object Toolbar function would perform.
Zoom Out - Allows the user to Zoom Out on the drawing pane of the model, the same way as the Object Toolbar function would perform.
Show Tree – Toggles the viewing of the 'Folder Tree' that appears on the left hand side pane in the Design View.
Display Print Area – Shows the user exactly what will "Print" if selected.
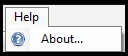
*Refresh* – Refreshes the model to perform the recent calculations.

Help Drop-Down Menu

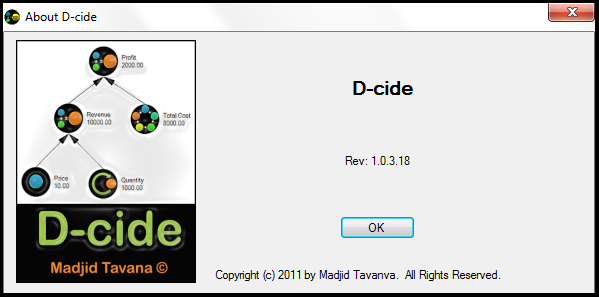
Clicking the Help Menu's "About..." option will bring up the image below, providing the copyright and version of the D-cide© software. Click “OK” or the close "X" to return to the screen.

Home Advnace